Mailpit
Our platform now provides access to Mailpit, a fast and simple email testing tool with a clean web UI. It acts as an SMTP server and provides a web interface to view the emails it catches.
This is useful for testing email functionality of your application without sending actual emails to real recipients.
Enabling Mailpit
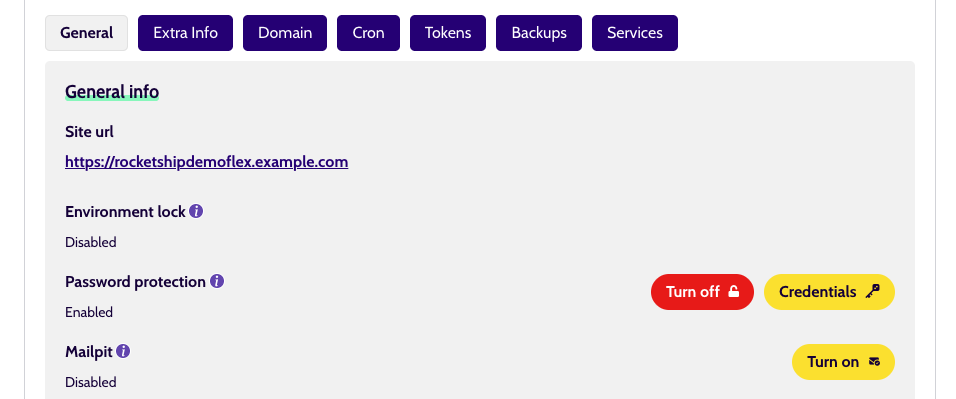
You can enable Mailpit for a specific environment from the environment's detail view. In the "General" tab, you will find the Mailpit service. Click the "Turn on" button to enable it.
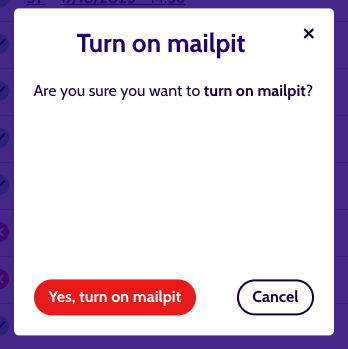
You will be asked to confirm that you want to turn on Mailpit.
Once enabled, a link to the Mailpit UI will appear. You can also turn it off again.
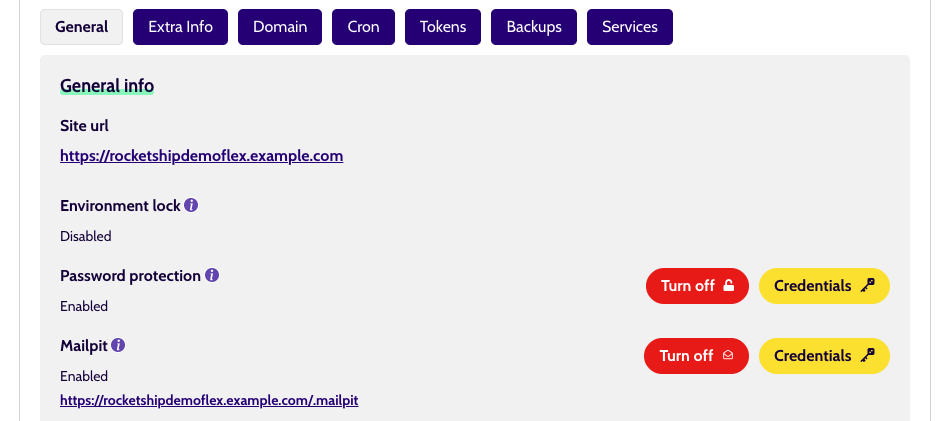
Note that the ability to enable or disable Mailpit, and to view the credentials, is dependent on your user permissions. If you do not have the required permissions, the buttons will be disabled.
Accessing Mailpit
The Mailpit web interface is available on any of the domains connected to your environment, by appending /.mailpit to the URL (e.g., https://example.com/.mailpit). There will also be a link on the environment detail page you can use.
Warning
Mailpit requires SSL to be enabled on the domain.
Authentication
The Mailpit interface is always protected by basic authentication. The credentials are the same as those used for the environment's main password protection. You can view the credentials by clicking the "Credentials" button next to the Mailpit service.
This authentication is always active for the Mailpit interface, even if you have not enabled password protection for the entire environment.
How it works
When you enable Mailpit for an environment, we spin up a dedicated Docker container for it. This container is connected to your application's environment via a socket file. This ensures that only your environment can send emails to this Mailpit instance.
The socket file is located at /var/run/mailpit/[[ project_name ]]_[[ environment_name ]]/smtp.sock.
Configuring your application
To make your application send emails to Mailpit, you need to configure it to use the mailpit sendmail command.
Using Tokens
The examples below use the [[ project_name ]] and [[ environment_name ]] tokens. These are automatically replaced by the platform during deployment with the correct values for your project and environment. You can read more about how tokens work in our token documentation.
Mautic
For non-production environments, Mailpit is configured automatically. The mailer_dsn parameter is set up during environment creation to use Mailpit out of the box.
For production environments, or if you need to configure it manually, you can set the mailer_dsn in your configuration (parameters_local.php):
'mailer_dsn' => 'sendmail://default?command=mailpit%%20sendmail%%20-S%%20unix:/var/run/mailpit/[[ project_name ]]_[[ environment_name ]]/smtp.sock%%20-bs',
This configuration is typically placed in a file that is part of the scaffolding for your environment, so the tokens can be replaced.
Drupal
For Drupal projects, the configuration depends on the module you use for sending emails. Most modules that allow sending emails via an external command should work. You will need to find the setting that allows you to specify the sendmail command and enter the following:
mailpit sendmail -S unix:/var/run/mailpit/[[ project_name ]]_[[ environment_name ]]/smtp.sock -bs
Be sure to replace the tokens manually, or add the configuration that contains this information to a scaffolded folder to be replaced during deployments.
Other applications
For other applications, please refer to their documentation on how to configure email sending. As long as the application can use a sendmail-like command, you should be able to integrate it with Mailpit using the command above.